Unlock Sparkling Eyes: How to Brighten Eyes in Photoshop Like a Pro
2026-02-02Master Precise Photoshop Cutouts: Using Color Range and Channels for Professional Results
2026-02-02Master Photoshop Batch Processing: Quick and Easy Tutorial to Automate Image Editing
As a graphic designer who’s spent countless hours editing photos, I’ve come to rely on Photoshop’s batch processing feature to streamline my workflow. Batch processing, often referred to as quick batch handling, is essentially a way to apply a series of edits or actions to multiple files at once, saving you from repetitive manual work. Let me break it down: it revolves around two key components—Actions, which are recorded sequences of steps like resizing, adjusting colors, or adding filters, and the Batch command, which applies those Actions to a folder of images automatically. This automation tool has been a staple in Photoshop for years, evolving with updates to handle everything from simple conversions to complex edits, making it ideal for photographers, web designers, and anyone dealing with bulk images.
One common question I get is: What’s the difference between Batch processing and the Image Processor in Photoshop? The Batch command is more flexible for custom Actions, allowing you to apply recorded edits like filters or adjustments to files while specifying source and destination folders. In contrast, the Image Processor is a quicker script for basic tasks like resizing, converting formats (e.g., to JPEG or PSD), and embedding metadata, without needing a pre-recorded Action—it’s great for straightforward conversions but less customizable for intricate edits. Another frequent query: Do I need to record an Action every time for batch processing? Not necessarily—if you’re just converting files or resizing, you can use the Image Processor directly without an Action. But for personalized edits like applying specific curves or watermarks, recording an Action first ensures consistency across your batch.
Using batch processing has transformed how I handle projects, offering several key benefits. First, it drastically cuts down time—imagine editing 100 photos individually versus letting Photoshop do it in minutes. It also ensures uniformity, so all images get the exact same adjustments, reducing errors and maintaining professional quality. Plus, it frees up mental energy for creative tasks rather than tedious repetition, boosting overall productivity in my daily routine.
Step 1: Open the Actions Panel and Create a New Action
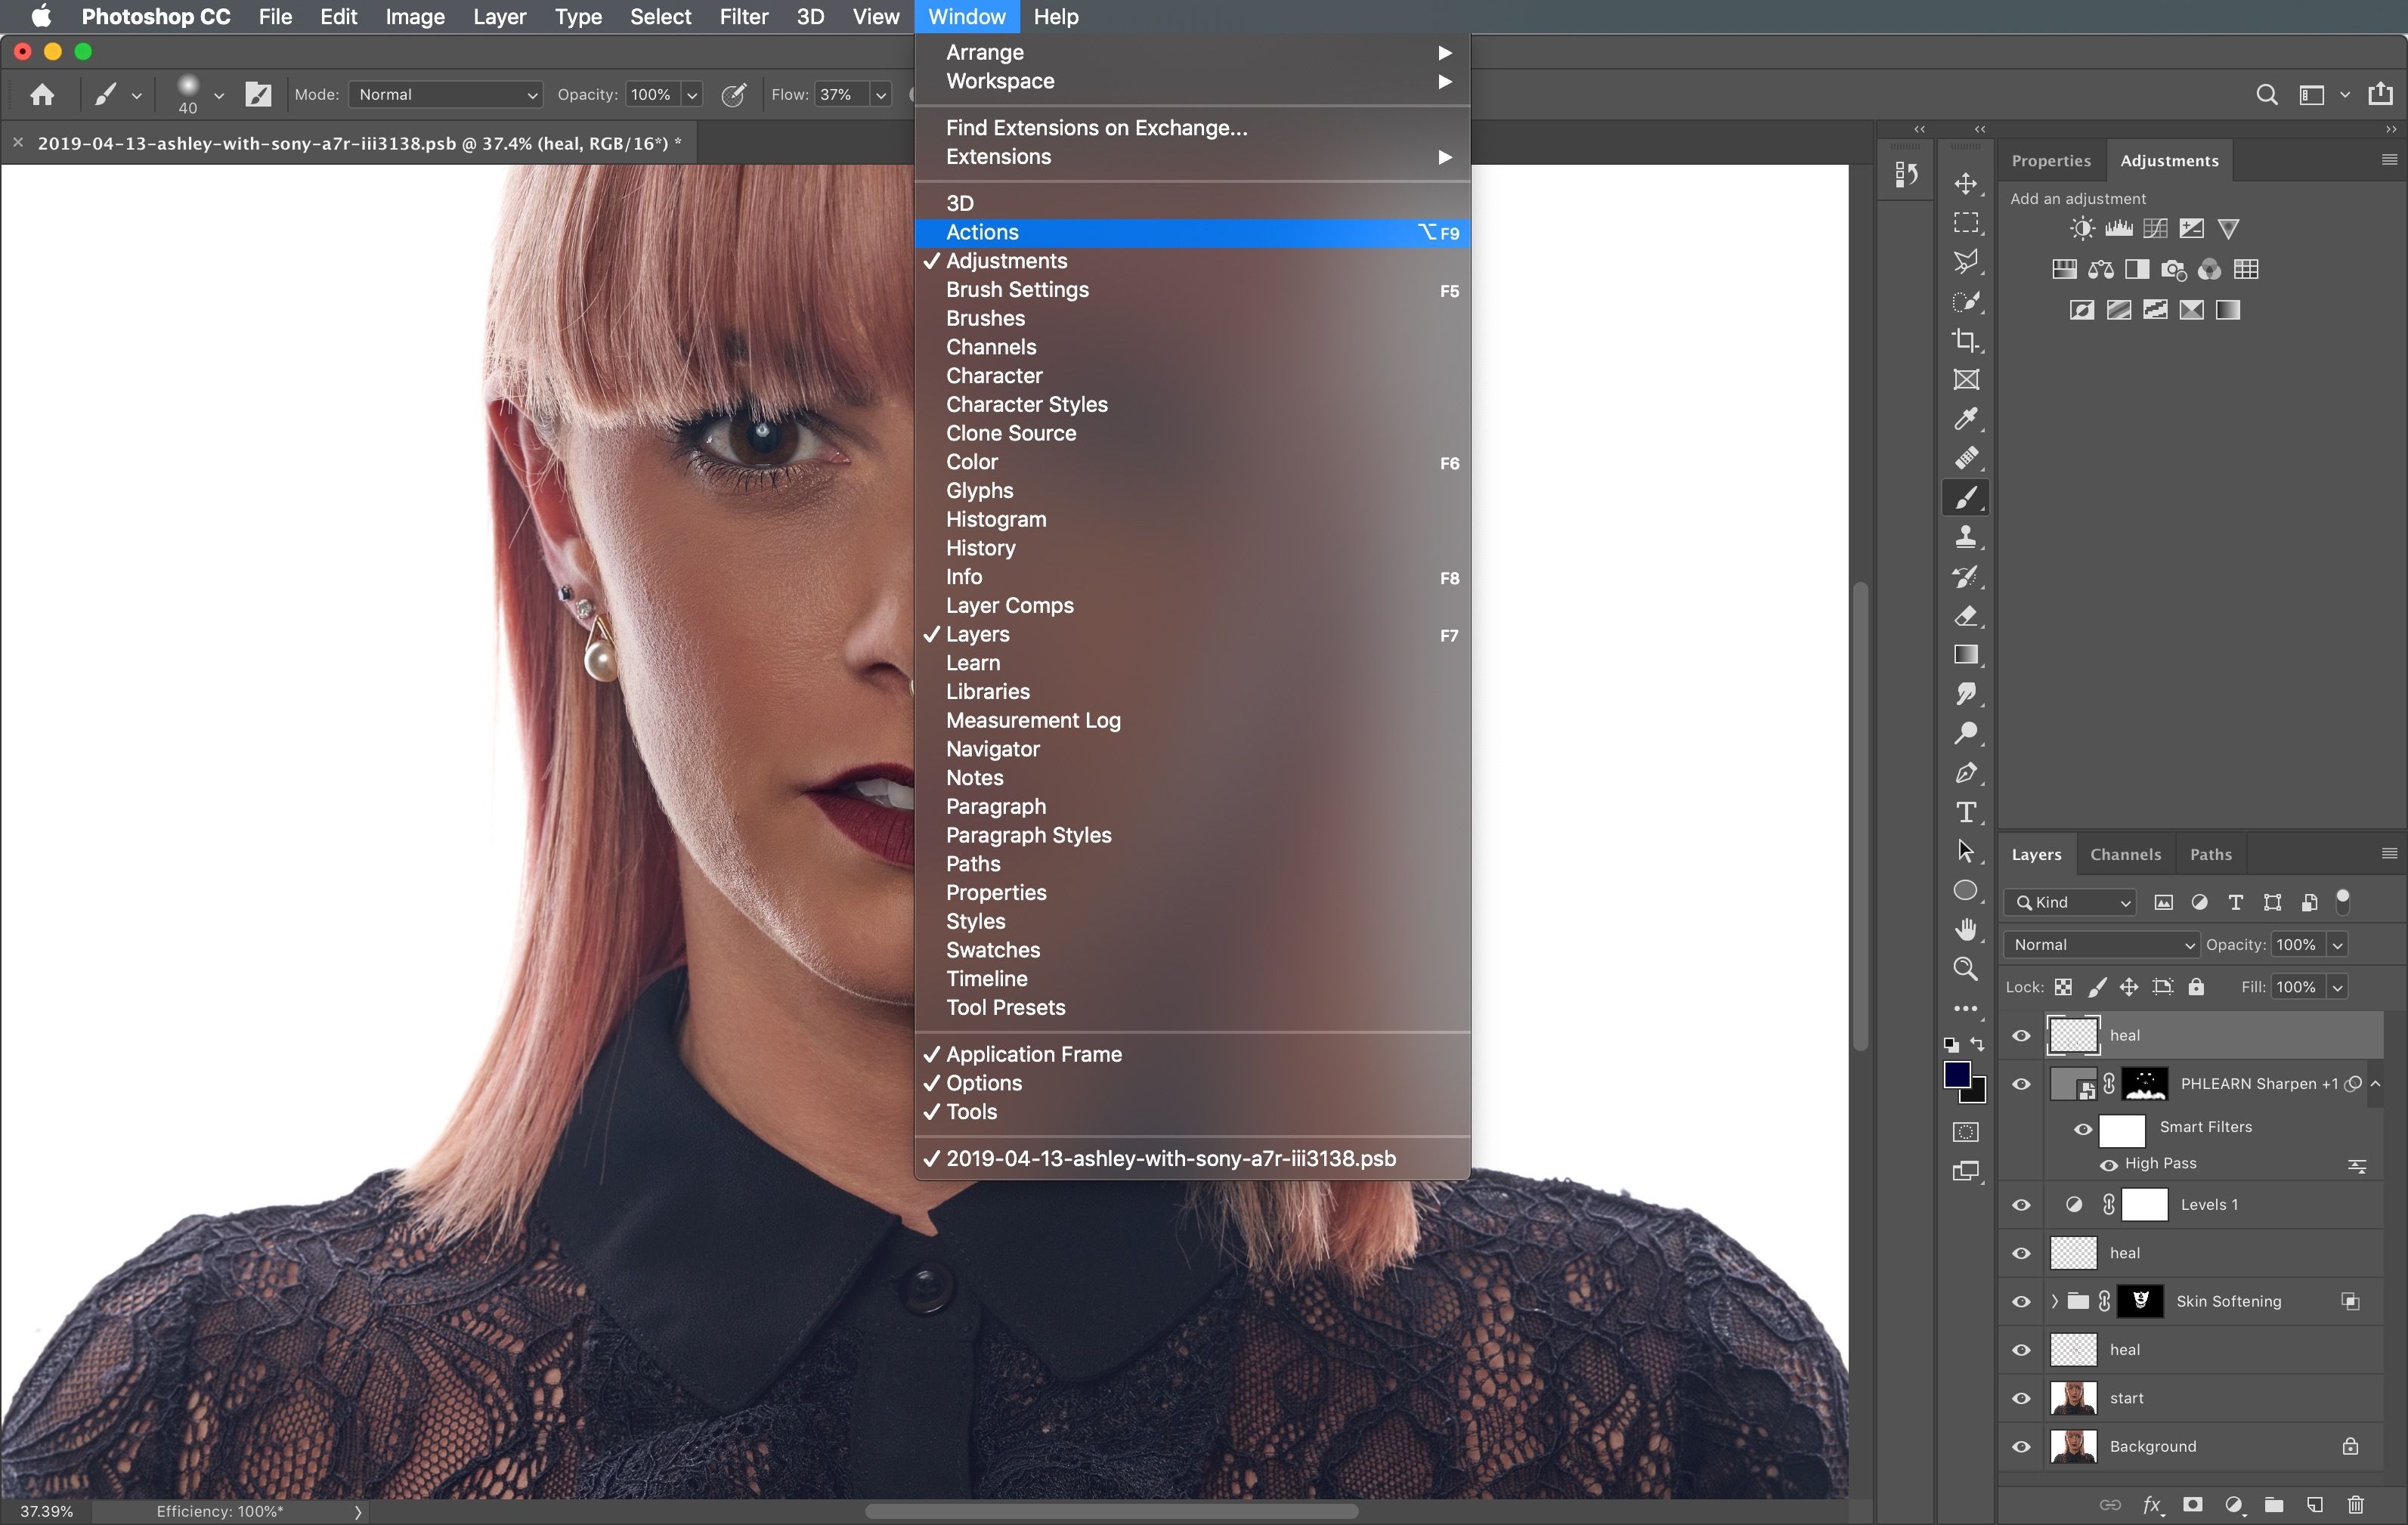
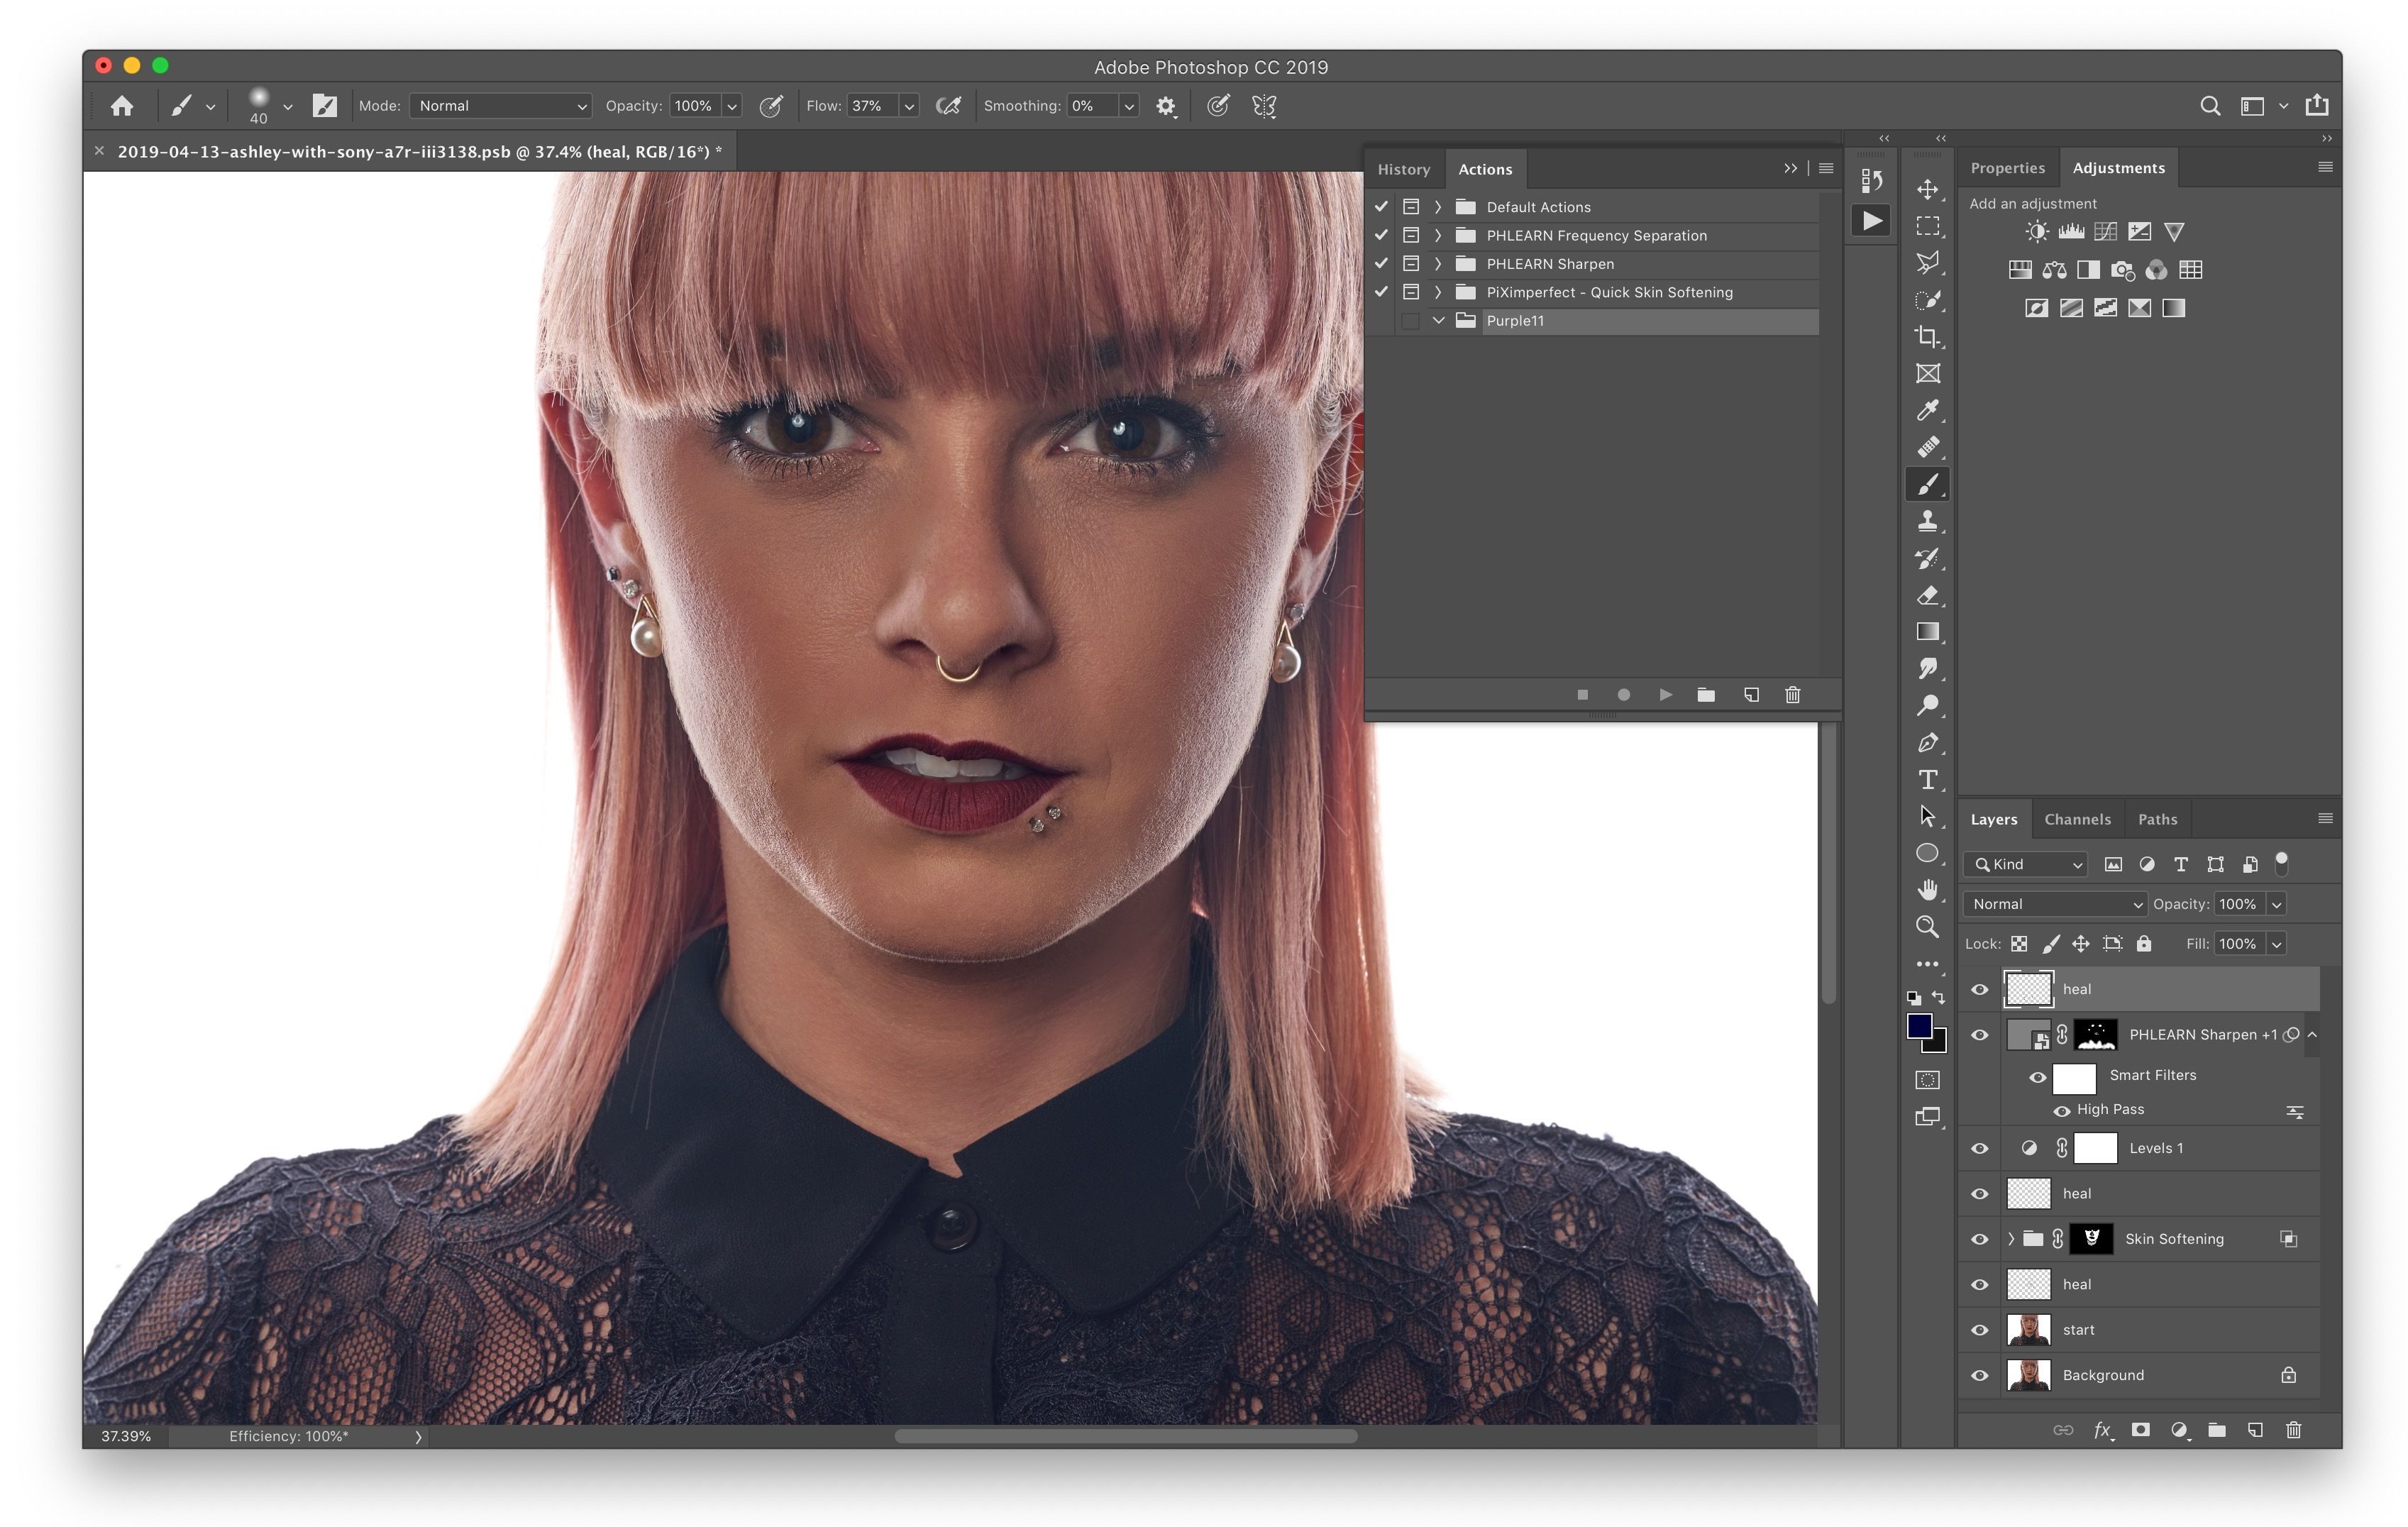
Launch Photoshop and go to Window > Actions (or press Alt + F9 on Windows) to open the panel. Click the folder icon to create a new set, name it something descriptive like “Batch Edits,” then hit the page icon to start a new Action. Give it a name, such as “Resize and Sharpen,” and click Record to begin capturing your steps.

Step 2: Perform and Record Your Edits
With recording active, open a sample image via File > Open. Apply your desired changes—for example, go to Image > Image Size to resize, set width to 800 pixels with Resample checked, then use Filter > Sharpen > Smart Sharpen for enhancement. Make sure to include a Save As step if needed, but avoid closing the file during recording to keep options open.

Step 3: Stop Recording the Action
Once your edits are done, click the Stop button (square icon) in the Actions panel to end recording. Test the Action on another image by selecting it in the panel and clicking Play to ensure it works as expected.

Step 4: Access the Batch Command
Navigate to File > Automate > Batch. In the dialog, select your recorded Action from the Play section, choose Folder as the Source, and browse to your input images folder. Check Include All Subfolders if applicable.
Step 5: Set Destination and Run the Batch
Pick a Destination folder for output files (or select Save and Close to overwrite originals cautiously). Enable Override Action “Save As” Commands if your Action includes saving. Finally, click OK to start processing—Photoshop will apply the Action to all files automatically.
In my experience, applying this to a folder of 50 product photos for an e-commerce site resized and watermarked everything in under 10 minutes, compared to hours manually. Another time, I batch-converted raw files to JPEGs for a client’s portfolio, ensuring consistent color correction and saving about 2 hours of work. Lastly, during a photo shoot edit, it handled sharpening across 200 images overnight, letting me focus on final touches the next day with flawless results.

